Popular Pages
L2TP/IPsec VPN Setup Tutorial for Windows 8
Setting up L2TP/IPsec VPN access under Windows 8 is simple. The following instructions go step-by-step through the creation process of a L2TP/IPsec VPN connection.
Note that some VPN providers offer their own desktop clients, which means you won't need this setup process. For example, TunnelBear, HideMyAss and proXPN both offer their own desktop applications for connecting to their VPNs and selecting VPN server locations.
-
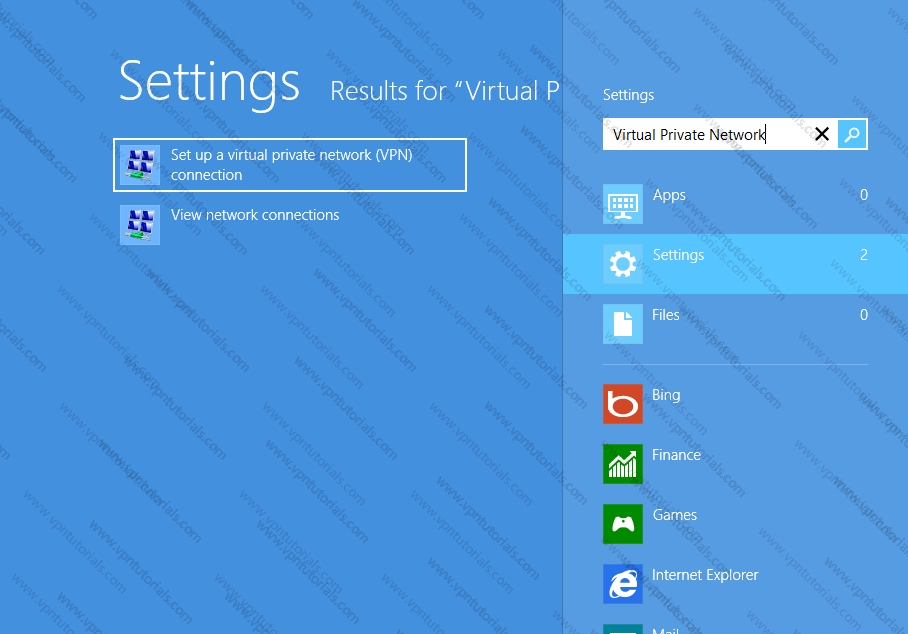
Press the Windows key, type Virtual Private Network, click the Settings category, and select "Set up a virtual private network (VPN) connection" option.
-
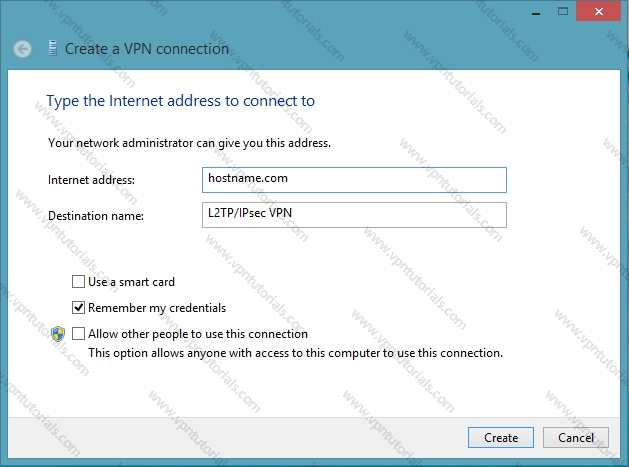
Enter the address of your VPN server in the Internet Address field. You can enter an address like l2tp.vpntutorials.com or a numerical IP address, depending on the server information given to you by your VPN provider.
Then enter the description of your VPN on the Destination name field - this can be anything you like. It's only used to help you remember which VPN connection is which.
You can get the hostname or IP address from your VPN provider. You can also get a free vpn account from our free vpn page if you just want to test this vpn tutorial..
-
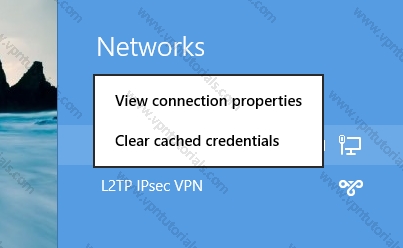
The network pane will appear right after you click the create button. Right click on the VPN Connection name you created where in our case is L2TP IPsec VPN, and choose Properties from the menu.
-
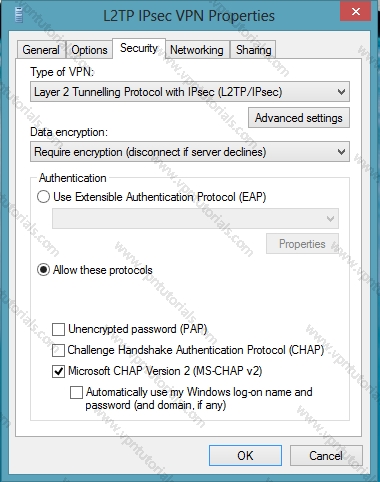
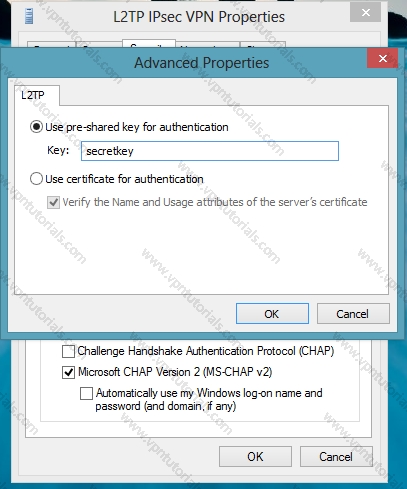
Under the Security tab select the Type of VPN as Layer 2 Tunneling Protocol with IPsec (L2TP/IPsec). Click Allow these protocols and select Microsoft CHAP Version 2.
-
Finally click Advanced settings then enter your vpn provider's preshared key and click OK.
-
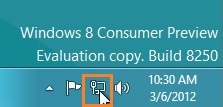
Almost done, Click on the monitor icon on the bottom right-hand corner.
-
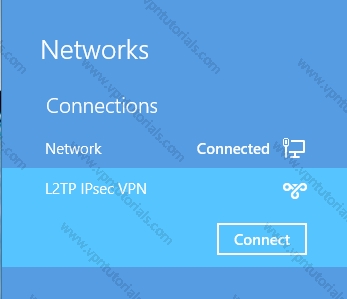
Find L2TP IPsec VPN connection and click connect.
-
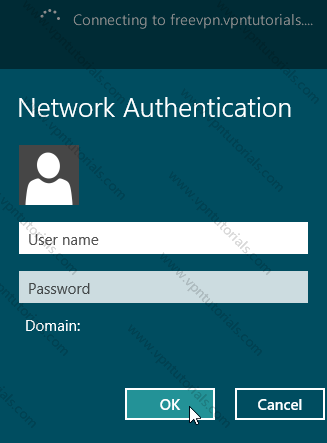
Type your VPN username and password and click OK.
- Wait for the Connected sign to appear.
- Once connected you can check your IP in this page to check on your new IP address.
More tips
-
To access the Network pane in the future, click the network icon in the system tray or open the charms bar, select Settings, and select Network.
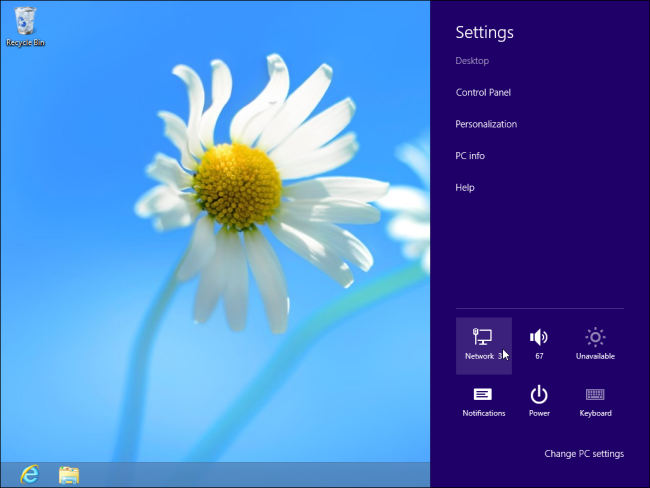
-
To connect or disconnect from a VPN, select it in the Network pane and use the Connect or Disconnect buttons.
-
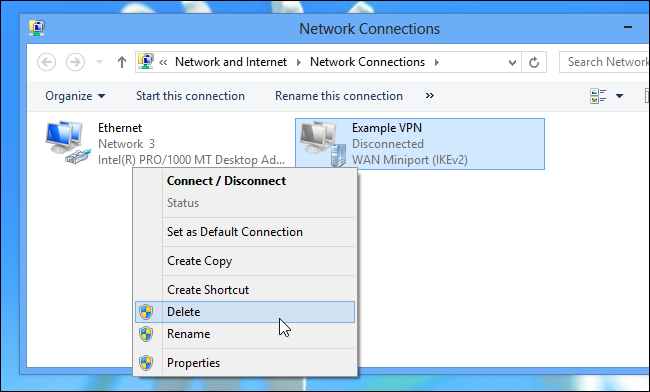
To remove a saved VPN connection, press the Windows key, type View network connections, select the Settings category, and click the View network connections option. Right-click a VPN Connection and select Delete to remove it.
Congratulations! You have finished setting up L2TP/IPsec VPN on your Windows 8 OS. If you have a question do not hesitate to create a new post on our support forum.